

The same logo can look intentional or off-balance depending on where it sits: a chest print 4 cm too low reads as sloppy, a sleeve print wrapped onto the armpit seam looks broken, and an all-over print without seam allowance returns from the factory distorted. Placement is a specification, not a styling afterthought, and it must survive the move from mockup to a graded size range and a production run. This guide covers the standard T-shirt placement zones — chest, back, sleeve and all-over — the measurements for each, how the print method changes what is possible, and what to write in a tech pack so the sample's decoration is the bulk's decoration.
Placement turns a tee into a message
T-shirt print placement is decided by four measurements: horizontal position, vertical position from a fixed landmark, print size, and distance from seams. Standard starting points — chest center 10–12 cm below the collar seam, back center 15–18 cm below the collar — keep prints balanced across sizes and fits.
| Placement zone | Typical print area | Typical position reference |
|---|---|---|
| Center chest | 20–30 cm wide | 10–12 cm below collar seam |
| Left chest | 8–12 cm wide | centered on the chest, above the hem |
| Back (center) | 25–35 cm wide | 15–18 cm below collar seam |
| Sleeve | 6–10 cm | centered on outer sleeve, 2–4 cm below shoulder seam |
| All-over | full body minus seams and hem | artwork maps to the pattern pieces |
These ranges are practical starting points across commercial programs, not universal rules — the final position depends on body size, fit and design. What matters is that every placement is defined by a reference point a factory can measure, never by "put it in the middle." The collar and shoulder seams are the fixed landmarks that survive washing and grading; a position stated from the hem drifts as length changes between sizes.
Chest placement: the classic canvas
The center chest is the default placement: the largest flat area of the garment, free of seams, and the zone that holds the eye on a person standing normally. For adult tees, a center-chest print commonly runs 20–30 cm wide, with the vertical reference the collar seam and the print's top edge about 10–12 cm below it. Left-chest prints — the small logo above the heart, standard for corporate and teamwear — typically run 8–12 cm wide, positioned by distance from center front (usually 10–12 cm) with the baseline set from the collar. The trade-off is size versus subtlety: center chest reads louder and suits hero graphics; left chest suits branding that should not compete with the face. These sizes match the references used across our custom T-shirt line. Keep the print clear of the armhole seam — on narrow chest sizes an 8 cm print reaches it and distorts.
Back and upper-back placement
Back placement is the second most common zone: the back panel is wider and has no bust curve to distort artwork. A back print typically runs 25–35 cm wide on adult tees, positioned 15–18 cm below the center-back collar seam so it stays visible above a waistband. Upper-back prints — the small logo at the neckline used on teamwear and staff uniforms — sit 5–8 cm below the collar seam and usually run 10–15 cm wide. The two constraints are practical: keep the artwork clear of the side seams, and fix the vertical position from the collar so the bottom edge does not disappear under a tucked hem. Mirror-check the artwork: a back print seen in a mirror is reversed, so text on the back must read correctly from behind, not from the wearer's view.
Sleeve placement: small but powerful
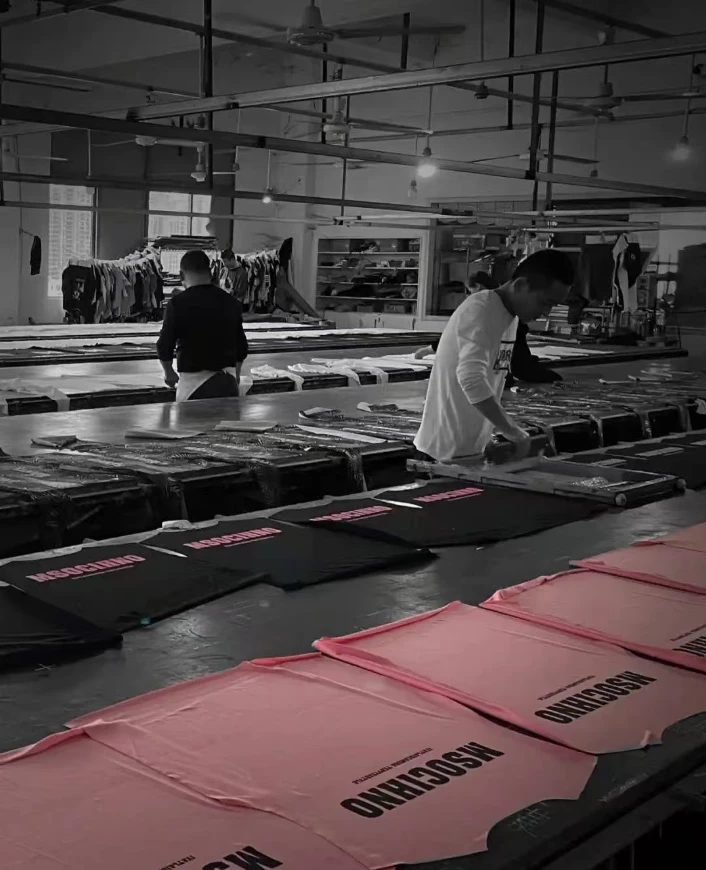
Sleeve prints are the highest-impact small placement because they move with the arm, but the sleeve is also the most seam-constrained zone. A typical sleeve print runs 6–10 cm wide, centered on the outer sleeve and positioned 2–4 cm below the shoulder seam so it stays on the sleeve cap rather than wrapping into the armpit. The structural limits are the underside seam and the armhole seam: a print wider than the flat sleeve panel, or too close to either seam, wraps and distorts when the arm is down. Short sleeves change a lot between garment sizes, so a placement specified in centimetres from the shoulder seam must be re-checked on the smallest size — a print that fits a 2XL sleeve can crowd the seam on an XS. For embroidered sleeve logos, the hoop size caps the printable width, which is why small sleeve logos are often embroidered instead.
All-over and large-format placement
All-over prints turn the entire garment into the design, but they are a different production process, not a bigger print: the artwork is mapped to the pattern pieces — front, back, sleeves — with seam allowances, so the design continues across seams. That requires the artwork to be engineered for the pattern, so all-over placement is specified as a digital print file aligned to the cut plan, not as a position on the finished garment. Large-format placements also change the method: edge-to-edge coverage typically uses DTG for small runs or sublimation/transfer for synthetic blends, while screen printing an all-over design needs oversized platens and exact registration. Cost scales with coverage: an all-over print uses several times the ink of a chest print, so most programs reserve it for hero styles and confirm unit cost first.
Placement and print method limits
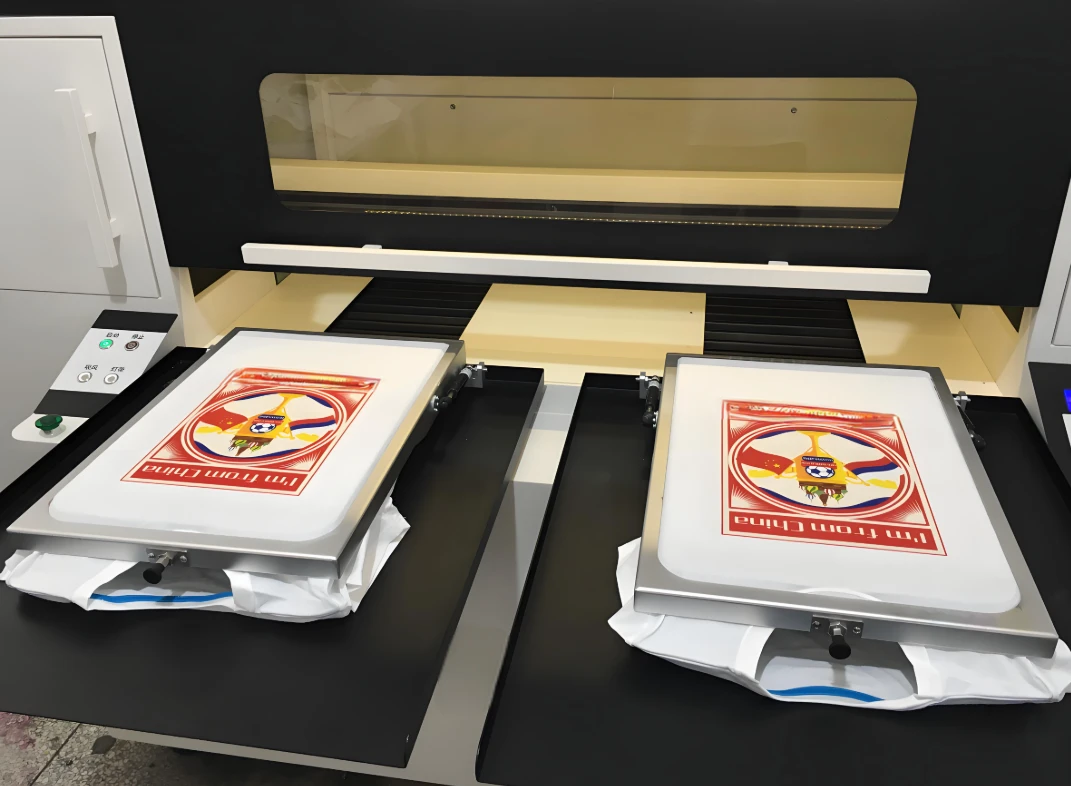
Every decoration method places limits on where and how large a print can sit. Screen printing is the workhorse for chest and back placements, but each color is a separate screen — multi-color designs cost more per position and sleeves need smaller platens and screens. DTG handles photorealistic artwork at any position without screen setup, but the print area is limited by the platen size, and dark fabrics require white ink underlay. Heat transfer and sublimation allow fine detail and small placements, sublimation only on polyester or coated surfaces. Embroidery is capped by the hoop, typically 10–13 cm for flat caps, and suits small logos rather than large coverage. The CottonWorks printing process guide explains how method choice interacts with fabric, and our screen printing vs sublimation comparison details the trade-off. Choose the method first, then confirm the placement fits its limits.
Placement on different fits
Fit changes where a print sits because seams and fabric drape shift between silhouettes. On a fitted tee the chest print follows the body's curve and the platen must keep the fabric flat, so a large print can distort at the side seams on curvier sizes. On an oversized or drop-shoulder tee, the shoulder seam moves outward and takes the landmark with it: a print 10 cm below a dropped shoulder sits visibly lower than on a regular tee, so reference the collar seam or a percentage of body length, not the shoulder seam. Long sleeves add a second zone — upper arm and forearm — and the print must clear the elbow crease, so use small placements or verify the position on the garment in motion. When a style spans XS–5XL, check the placement on the smallest and largest sizes — proportional placement rarely scales perfectly in centimetres.
Mockups and measurement guides
A mockup is only useful if it is measurable. The standard way to show placement is a flat-lay front and back view, with explicit measurements: distance from the collar seam to the top of the print, distance from center front to the print edge for off-center placements, print width and height, and seam clearance at armholes and hems. Add the garment size the mockup represents — measurements for one size do not translate automatically. For prints that cross the garment boundary — sleeve wraps or all-over designs — include the flat sleeve measurement and seam allowance. The CottonWorks printing basics walkthrough covers how fabric and construction affect the printed result, the same logic a placement diagram must account for. A mockup without measurements is a picture; with them, it is a specification.
Communicating placement in tech packs
The tech pack is where placement stops being an image and becomes a number. For each print, list: the zone (chest, back, sleeve, all-over), the horizontal and vertical coordinates from fixed landmarks, the print dimensions, the safe area and bleed, and the mirror instruction — back prints and sleeve prints usually need a note on whether the artwork is supplied mirrored for production, and both factory and buyer must agree on the convention. Add the tolerance — commonly ±5 mm in commercial programs — and state whether it applies per garment or per size. Include the graded sizes and confirm the placement on the smallest and largest before bulk. If the design has multiple colors, note whether the print is one combined file or color-separated, because that determines screen counts and registration risk. Ambiguity is the most common source of bulk placement errors: two factories interpret the same image differently, but neither misinterprets a coordinate.
Testing placement in production
Placement must be verified on real garments, not just on the mockup. The standard check is a pre-production sample on each size grade, with the print measured from the stated landmarks against the tolerance. During bulk, pull random garments from each lot and check flat placement — platen loading drifts as operators speed up. Two tests matter beyond position: the wash test and the stretch test. Laundering per AATCC TM135 or ISO 6330 shows whether the print moves, cracks or distorts after the fabric shrinks; the stretch test shows whether the print breaks at the seams. Keep a photo of the approved sample in the order record so later lots are compared against the physical and photographic standard.
A print placement guide
Follow this checklist when specifying any T-shirt print. Define the zone and the design intent; choose the print method before finalizing the position so the placement fits the method's limits; state every position from fixed landmarks — collar seam, shoulder seam, center front — never from the hem; give print dimensions and seam clearances; specify tolerance (commonly ±5 mm) and the mirror convention; include a measurable mockup with the garment size marked; re-check the smallest and largest sizes; approve a pre-production sample per grade; and verify placement and wash behavior on bulk garments. The goal is a placement spec any factory can execute without asking questions and any reviewer can verify. Industry events and print industry media show how placement trends change, but the specification method above stays the same.
FAQ
What is the standard size for a chest print on a T-shirt? For adult tees, a center-chest print commonly runs 20–30 cm wide, with the top edge about 10–12 cm below the collar seam. A left-chest logo typically runs 8–12 cm wide, positioned 10–12 cm from center front. These are starting points, not rules: the final size depends on the design, the garment size range and the fit, and should be verified on the smallest and largest sizes in the range.
Can sleeve prints be screen printed? Yes, but with constraints. Screen printing on sleeves requires smaller platens and screens, and the print width is limited by the flat sleeve panel — typically 6–10 cm on adult tees — so it must clear the armhole and underside seams. Multi-color sleeve designs are possible but increase setup cost. Many small sleeve logos are embroidered instead, because the hoop and needle work handle small areas efficiently.
How does placement change on oversized T-shirts? Oversized tees have dropped shoulder seams and longer bodies, so positions stated from the shoulder seam drift downward. Use the collar seam or a percentage of body length as the vertical reference, and re-verify the placement on the actual oversized fit. The print also has more fabric to spread across, so the same design can sit visibly lower or wider than on a regular tee.
What should a tech pack include for print placement? It should include the zone, horizontal and vertical coordinates from fixed landmarks, print dimensions, safe area and bleed, the print method, mirror convention, tolerance (commonly ±5 mm), and a flat-lay mockup with the garment size marked. Add the graded size range, a note confirming the placement on the smallest and largest sizes, and the wash-test requirement before bulk production is approved.
Placement is a spec, not a guess — it needs landmarks, measurements and a tolerance before bulk. LSLONG's screen printing, DTG and embroidery teams can review your diagrams, confirm method limits, and produce pre-production samples with measured positions. Send your artwork and size range to the LSLONG team or email lisilongtshirt@gmail.com.